Robots have advanced education and competition fields significantly in the modern world. Among the well-known platforms creating waves is VEX Robotics, a flexible robotics system used by professionals, amateurs, and educational institutions both. Combining this with Node.js, a well-known JavaScript runtime, gives strong control over VEX robots—especially in relation to serial communication.
Everything you need to know about leveraging VEX Serial Nodejs A Complete Guide for VEX Robotics and configuring serial communication between the two will be guided by this book.
Understanding VEX Robotics
What is VEX Robotics?
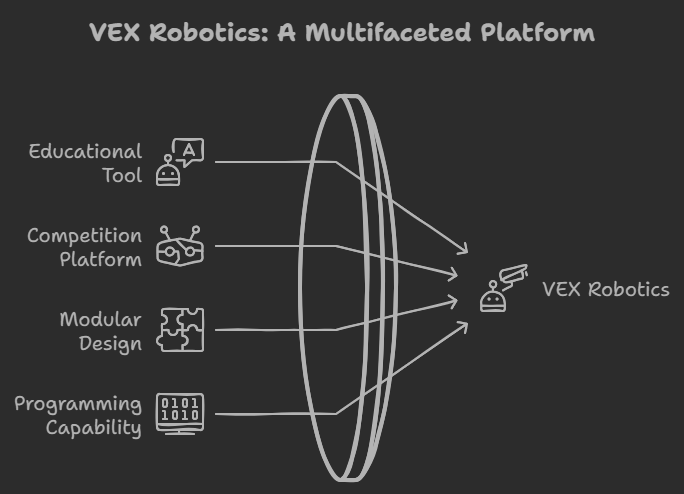
Advanced platform meant for teaching robotics and programming is VEX Robotics. It is extensively utilized in robotics contests worldwide including VEX IQ Challenge and VEX Robotics Competitions as well as in educational institutions. Simple machines to sophisticated robotic systems are just a few of the tasks that the modular, programmable robots in the system enable.
Use Cases of VEX in Education and Competitions
Mostly utilized in educational environments, VEX teaches STEM (science, technology, engineering, and mathematics) subjects to pupils. Learning to build, program, and control robots, students get practical experience. Teams create bespoke robots to finish tasks in contests, therefore honing their ability to solve practical problems.
Introduction to Node.js
What is Node.js?
Built on V8 JavaScript engine of Chrome, VEX Serial Nodejs A Complete Guide is a JavaScript runtime. Usually a language used on the client side, JavaScript lets developers build server-side code. Popular for projects involving real-time communication, its event-driven architecture qualifies for handling I/O-bound activities including robotics control.
Why Use Node.js for Robotics Projects?
For jobs like sending and receiving data over serial connection, Node.js is quick, clever, and excellent. Particularly with VEX, this means you can create real-time control code for robotics projects that interacts with the robot effortlessly either giving orders or gathering sensor data.
Serial Communication in Robotics
What is Serial Communication?
Serial communication is a technique of data transfer whereby one bit at a time data is transmitted over a communication channel. In robotics, it is extensively used to receive robot sensor data or transmit commands from a computer to a robot.
Importance of Serial Communication in Robotics
In robotics, serial communication is vital since it enables external devices—such as VEX robots—to interact with a computer, so enabling the user to operate the robot or compile sensor data, so enabling automation and control systems.
VEX Robotics and Serial Communication
Overview of Serial Ports in VEX Robots
Serial ports built into VEX robots—especially VEX Cortex and VEX V5—let them interact with other devices. These ports help data to be transferred from the robot to the controlling computer.
Common Applications for Serial Communication in VEX Robotics
Typical use cases comprise transmitting control signals for motors and servos, gathering sensor data, or interacting with outside microcontrollers like Arduino. This capacity improves the real-world interaction and usefulness of the robot.
Setting Up Node.js for VEX Serial Communication
Installing Node.js
You must install Node.js before we may establish serial communication. The Node.js official website has the most recent version downloadable. Use the operational system installation guidelines.
Installing Required Packages (Serialport, etc.)
To enable Node.js to handle serial communication, you will need the serialport package. Install it using npm (Node.js Package Manager) using the following command:
bash
Copy code
npm install serialport
This package provides everything you need to interact with serial ports from Node.js.
Connecting VEX Robots to Node.js
How to Connect VEX Robots to Your Computer
First, using the suitable cable—usually USB—connect the VEX robot to your computer. Install the VEX robot’s drivers such that your operating system identifies the device.
How to Access Serial Ports in Node.js
Once connected, you can list the available serial ports using the serialport package to ensure that your computer recognizes the VEX robot. Here’s a simple Node.js script to list available serial ports:
javascript
Copy code
const SerialPort = require(‘serialport’);
SerialPort.list().then(ports => {
ports.forEach(port => {
console.log(port);
});
});
Creating a Node.js Serial Communication Program
Writing Your First Serial Communication Script
Now that you have the robot connected and the serialport package installed, let’s write a basic script to open communication with the VEX robot.
javascript
Copy code
const SerialPort = require(‘serialport’);
const port = new SerialPort(‘/dev/ttyUSB0’, { baudRate: 9600 });
port.write(‘Hello VEX!’, function(err) {
if (err) {
return console.log(‘Error: ‘, err.message);
}
console.log(‘Message sent successfully!’);
});
This script opens communication with the VEX robot and sends the string “Hello VEX!”.
Example Code for Serial Communication with VEX Robotics
You can replace the /dev/ttyUSB0 with the actual port that your VEX robot is connected to. This script establishes the basic foundation for communication.
Sending Data to VEX Robots via Serial
How to Send Commands from Node.js to VEX Robots
Sending commands from Node.js to the VEX robot is as simple as sending a string of data. For example, you might want to send motor control commands to the robot.
javascript
Copy code
const command = ‘MOVE_FORWARD’;
port.write(command);
Example: Sending Motor Control Commands
Here’s an example of sending a motor command to make the VEX robot move forward:
javascript
Copy code
port.write(‘motor 1 forward 50’);
This command tells motor 1 to move forward at 50% speed.
Receiving Data from VEX Robots
How to Read Data from VEX Robots in Node.js
You can also read data coming from the VEX robot, such as sensor data. To do this, you’ll listen for incoming data on the serial port.
javascript
Copy code
port.on(‘data’, function(data) {
console.log(‘Data received: ‘ + data);
});
Example: Reading Sensor Data
For example, if you want to read data from a distance sensor, you might receive something like:
javascript
Copy code
Data received: distance 10cm
Handling Errors in Serial Communication
Common Errors in Serial Communication with VEX Robots
Errors can occur due to incorrect baud rates, wrong port names, or faulty connections. It’s important to handle these errors gracefully.
How to Troubleshoot and Debug Issues
Ensure that the robot is properly connected, and check the port name. Additionally, match the baud rate of your program with that of the VEX robot.
Optimizing Node.js for VEX Robotics Projects
Improving Performance in Serial Communication
Use asynchronous methods in Node.js to ensure non-blocking communication, which keeps the application responsive.
Best Practices for Handling Data in Robotics Applications
Set suitable timeouts and handle data as soon as it comes to effectively buffer arriving data and prevent data loss.
Advanced Use Cases
Controlling Multiple VEX Robots with Node.js
Node.js can be used to control multiple robots by opening multiple serial ports and sending commands concurrently.
Integrating VEX Robotics with IoT using Node.js
With Node.js, you can easily integrate your VEX robot with IoT platforms, enabling remote control and monitoring via the cloud.
Conclusion
VEX Robotics along with Node.js offers a strong configuration for real-time robotics control. Serial connectivity lets you create sophisticated applications with exact sensor integration and robot control possible. Node.js and VEX are a winning combo whether your level of knowledge is just learning robotics or competitive.
FAQs
- How do I install Node.js on my system?
Node.js can be downloaded and installed directly from the official website. - What is the best way to troubleshoot serial communication errors?
Check the port connection, verify the baud rate, and ensure that the correct serial drivers are installed. - Can I use Node.js for VEX V5 robots?
Yes, Node.js can be used for both VEX Cortex and VEX V5 robots. - How fast can Node.js send data to VEX robots?
The speed depends on the baud rate set in the program. Typically, it’s 9600 baud, but this can vary. - Can I integrate sensors and motors into my Node.js project?
Absolutely! You can send commands to control motors and read data from sensors through serial communication.